Move in Day came and went. I bit the bullet and hired movers. I am happy I did. They had me moved out of the apartment and into the house in less than two hours. Of course, it did help that I did not have much to move.
I bought myself some new furniture pieces over the following weeks.......more on that in upcoming posts.
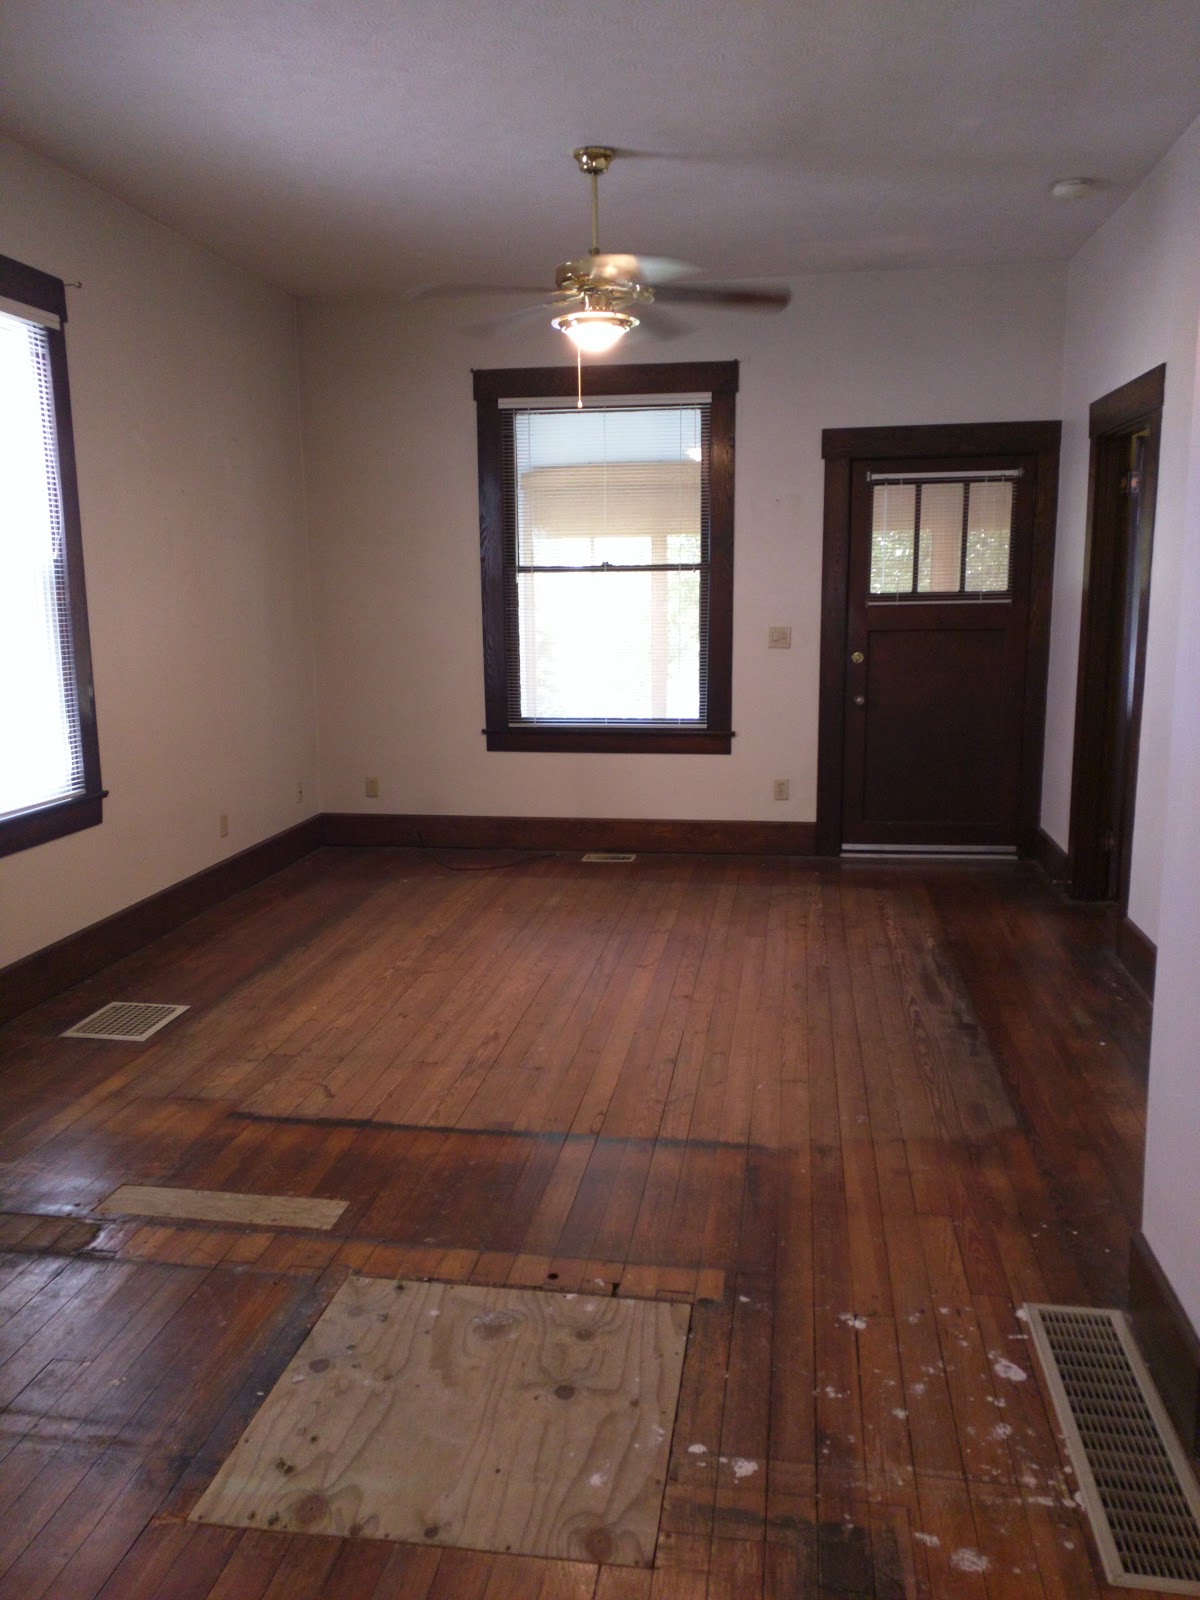
Repairing and reviving my 90 year old floors too about a week. I hired David King from SNK Flooring to do the work. David did a fantastic job repairing my floors, sanding, refinishing, and adding shoe moulding. It took him about a week. The difference is incredible!
Before:
During:
After:
Just phenomenal!!! It looks like a completely different house from day I closed.
The shoe moulding:
Once David was finished with the floors, I was able to get the new wall plates installed. I went with an oiled bronze that I though fit well with the house.
My next step before move in day was to get new lamps. I went with Quoizel's Inglenook Mission Style lamps. The shades include all the colors I used and tie things together quite well.
Lastly, I used all of the paint colors to make some art for the bathroom.
Sorry I have been away for so long. It is time to update the blog.
When I last posted I was deciding on paint colors and flooring contractors. Much has changed since June. Walls have been painted, floors have been repaired, sanded, refinished, furniture moved in, and I am living in my house.
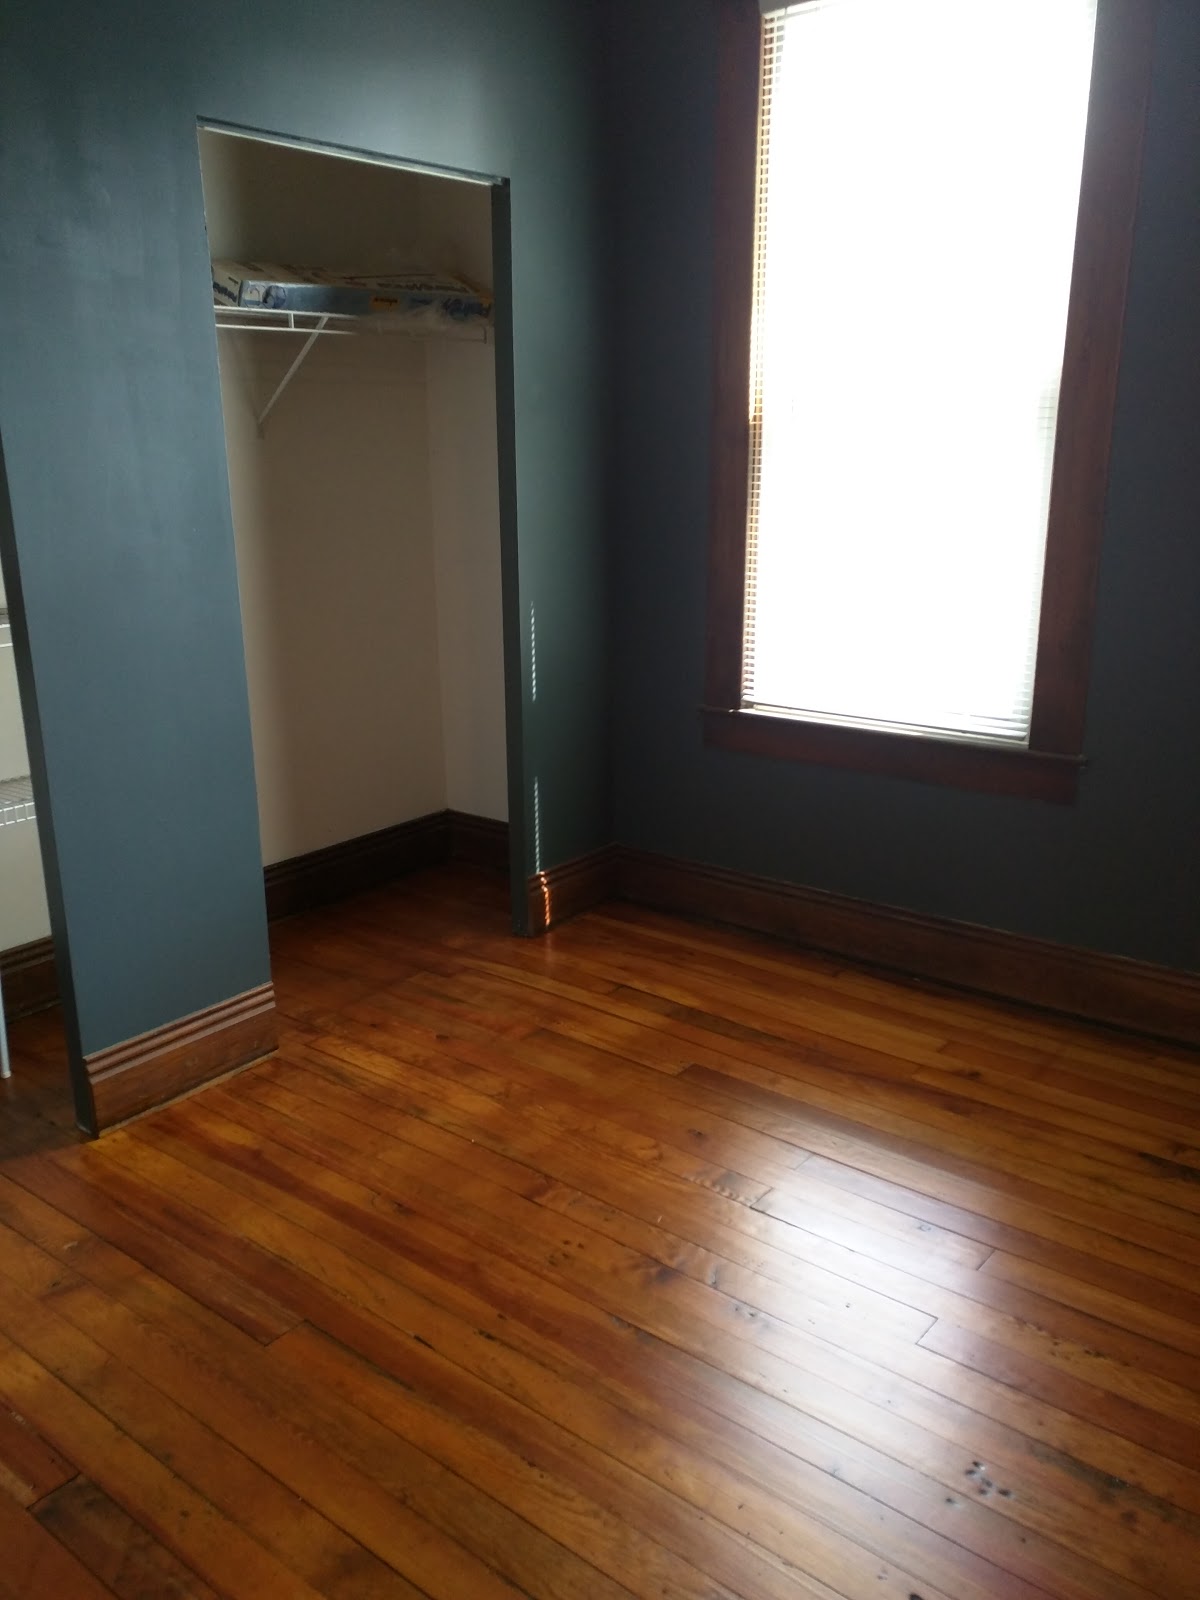
I did decide on paint colors. The first room I painted was my bedroom. I went with Blue Metal as it was a nice dark color. Two coats of paint and it looked great!
I chose Nouveau Copper for the second bedroom, what I call the "Orange Room." It took three coats of paint to cover the yellow walls. As I was doing research on paint hues, it turn out that reds/oranges and greens are more transparent that other hues. No wonder it took three coats of paint. I was very surprised at how well the woodwork popped against the orange. Many thanks to Autumn for slathering on the final coat.
Next up was the living/dining area. I chose Fern Grove as I thought it looked best with the wood work. My friend, Autumn, her brother Brett, and I painted this room over a weekend. We worked our butts off painting the kitchen as well.
The yellow Mustard Field in the kitchen really makes the cabinets pop.
Finally, only the bathroom was left. I chose Keystone Gray, which had a bit of a bluish look to it. I also decided not to remove the old paint from the kitchen and bathroom wood work and bathroom door. In the future I do plan on removing the old paint. What I did instead was to use a dark brown paint to try and match the original woodwork as best as possible. The best match I found was Oak Creek by Behr.
With the painting done I was finally able to have the floors sanded and refinished. Moving in was getting closer and closer!
Thank the goddess! The staples and tack strips are gone. Saturday ended my flooring prep saga. I think I heard cheers from the hardwoods when I pulled up the last tack strip. Now, I get to move on to stage two, spackling and paint color selections.
I started my morning by stopping at Home Depot (I'm still waiting for them to shout my name when i walk through the doors) to pick up spackle paste and paint samples. I selected nine different paint samples from Behr's Arts & Crafts decorator line. Upon returning to the house, I started spackling. I think I sanded down and covered more holes than the Titanic had rivets. Now for the color selections....
Living/dining room:
My choice is Fern Grove. I think the brighter green will make the woodwork pop! However, I am considering Halls of Ivy as a possible accent wall. Peat is just too brown and the woodwork will get lost.
My bedroom:
I'm very partial to Blue Metal. I love a dark bedroom, Maybe Cabana Blue as an accent wall.
Bedroom #2:
Love Nouveau Copper, but I like Campfire Blaze too. I think Nouveau Copper will look better with the woodwork.
Kitchen:
The kitchen should be bright and cheerful......yellow does the trick!
Bathroom:
Trying to keep the bathroom clean and neutral.
One for my flooring contractors came by today to give an estimate on refinishing and repairing the hardwoods. He informed me that the floors are heart pine and that they are the subfloor. I told him I want to save the original floors. He is able to get heart pine planks to make repairs, but they will not be cheap. Apparently the high cost of heart pine is because it is typically reclaimed. Overall, he provided a wealth of information about my floors and refinishing/repairing them. He pointed out spots where the floors had previously been repaired around the spots where former walls had stood. The contractor explained how he would install the new planks to look as though they are original parts of the floor. Just from talking with him I can tell he takes care and pride in his work.
I do love my floors, even if they squeak and show plenty of wear and tear. It would be a crime not to bring them back to life.
Two more floor refinishing/repair estimates to go.....
Today was carpet removal day. I was quite excited, since I knew tearing out the carpet and pad would be exciting. The chore would allow me get a look into the house's past and tell some of it's story. My floors certainly had a story to tell.........I was not disappointed.
The day began with yet another trip to Home Depot. I'm becoming quite the regular there. At some point soon waiting to hear the staff shout 'Larry!" as I walk in, much like the gang at Cheers used to do when Norm would walk through the door.
My friend are the greatest, and I was fortunate that I had two help with tearing out the carpet. A thousand thank yous to Lucinda and Autumn. Lucinda and I began in the front bedroom. I cut the carpet and she rolled and taped it up. Once we got the floors exposed it was obvious that they would need to be refinished. The floor had what looked like a huge discolored square stained into the wood. We came to the same conclusion......there had been an area rug laying in that spot.
Here are a few before and during shots of the carpet and pad removal.
carpet
carpet
pad
Staples, tack strips, and dirt....YUCK!
The after shots.....
Long before I closed on the house, I read that pulling staples from hardwood floors is the bane of any homeowner renovating after carpet removal. True dat! It's tedious work, but once I got a system going, the work went by quickly. I found that if I use the point of a putty knife I could pry up several staples, then grip and pull with needle nose pliers. Larry 1 - Staple 0. Removing the tack strips was not as hard as I thought it would be. Again, it's all about finding a system that works for you. To protect the wood planks, I used a 4" putty knife to wedge under the strip in front of the nail, then hammered the pry bar under the nail and pushed down on the bar. Pop goes the nail! I found that I would often have to do the same in the spaces between the nails as well.
The video will show the system that works for me....
While I removed the staples and tack strips in the front bedroom, Autumn worked on the second bedroom. She also discovered the same mysterious, square stain on that floor too, in addition to wht remained of someone's sloppy spackling job on the floor.....BONUS!!
After a much deserved break, Autumn and I were ready to tackle the living/dining area. Autumn was raring to go. I almost had to hold her back from discovering what new mysteries lay beneath the carpet. I think she thought she was Magellen or Vasco de Gama. I on the other hand, felt a bit more like Coronado, searching for the elusive El Dorado......or in my case pristine hardwoods. I had already resigned myself to the fact that the floors would have to be refinished, that was a non-issue at this point. However, I was keeping my fingers crossed, that there would not be a mammoth piece of plywood in the center of the room.
What we discovered told a story of the house's past.....marks showing where the old walls once stood.
Careful studying of the wall marks jogged my memory of the Sears Starlight home advertisement I read on the interwebs. The Starlight home was one of their mail order homes in the 1920's.
If, and that's a BIG if, my house is a Sears house, at some point in the past one of the former owners flipped the floor plan. My dream would be to take the floor plan back to the original, but my money tree didn't make it through the winter. I do find it very interesting to see the old wall marks.
My next step is to get quotes to have the floors repaired and refinished, as my ultimate goal is to keep the original floors. Should repair and refinishing turnout to be over budget or impossible, the nuclear option is to cover over the floors with new hardwood or engineered hardwood. Only time and quotes will tell.
I cannot say thanks enough to Autumn and Lucinda for their help and conversation! Thank you ladies!